Protect Your Floors! Use the Right Home Gym Flooring
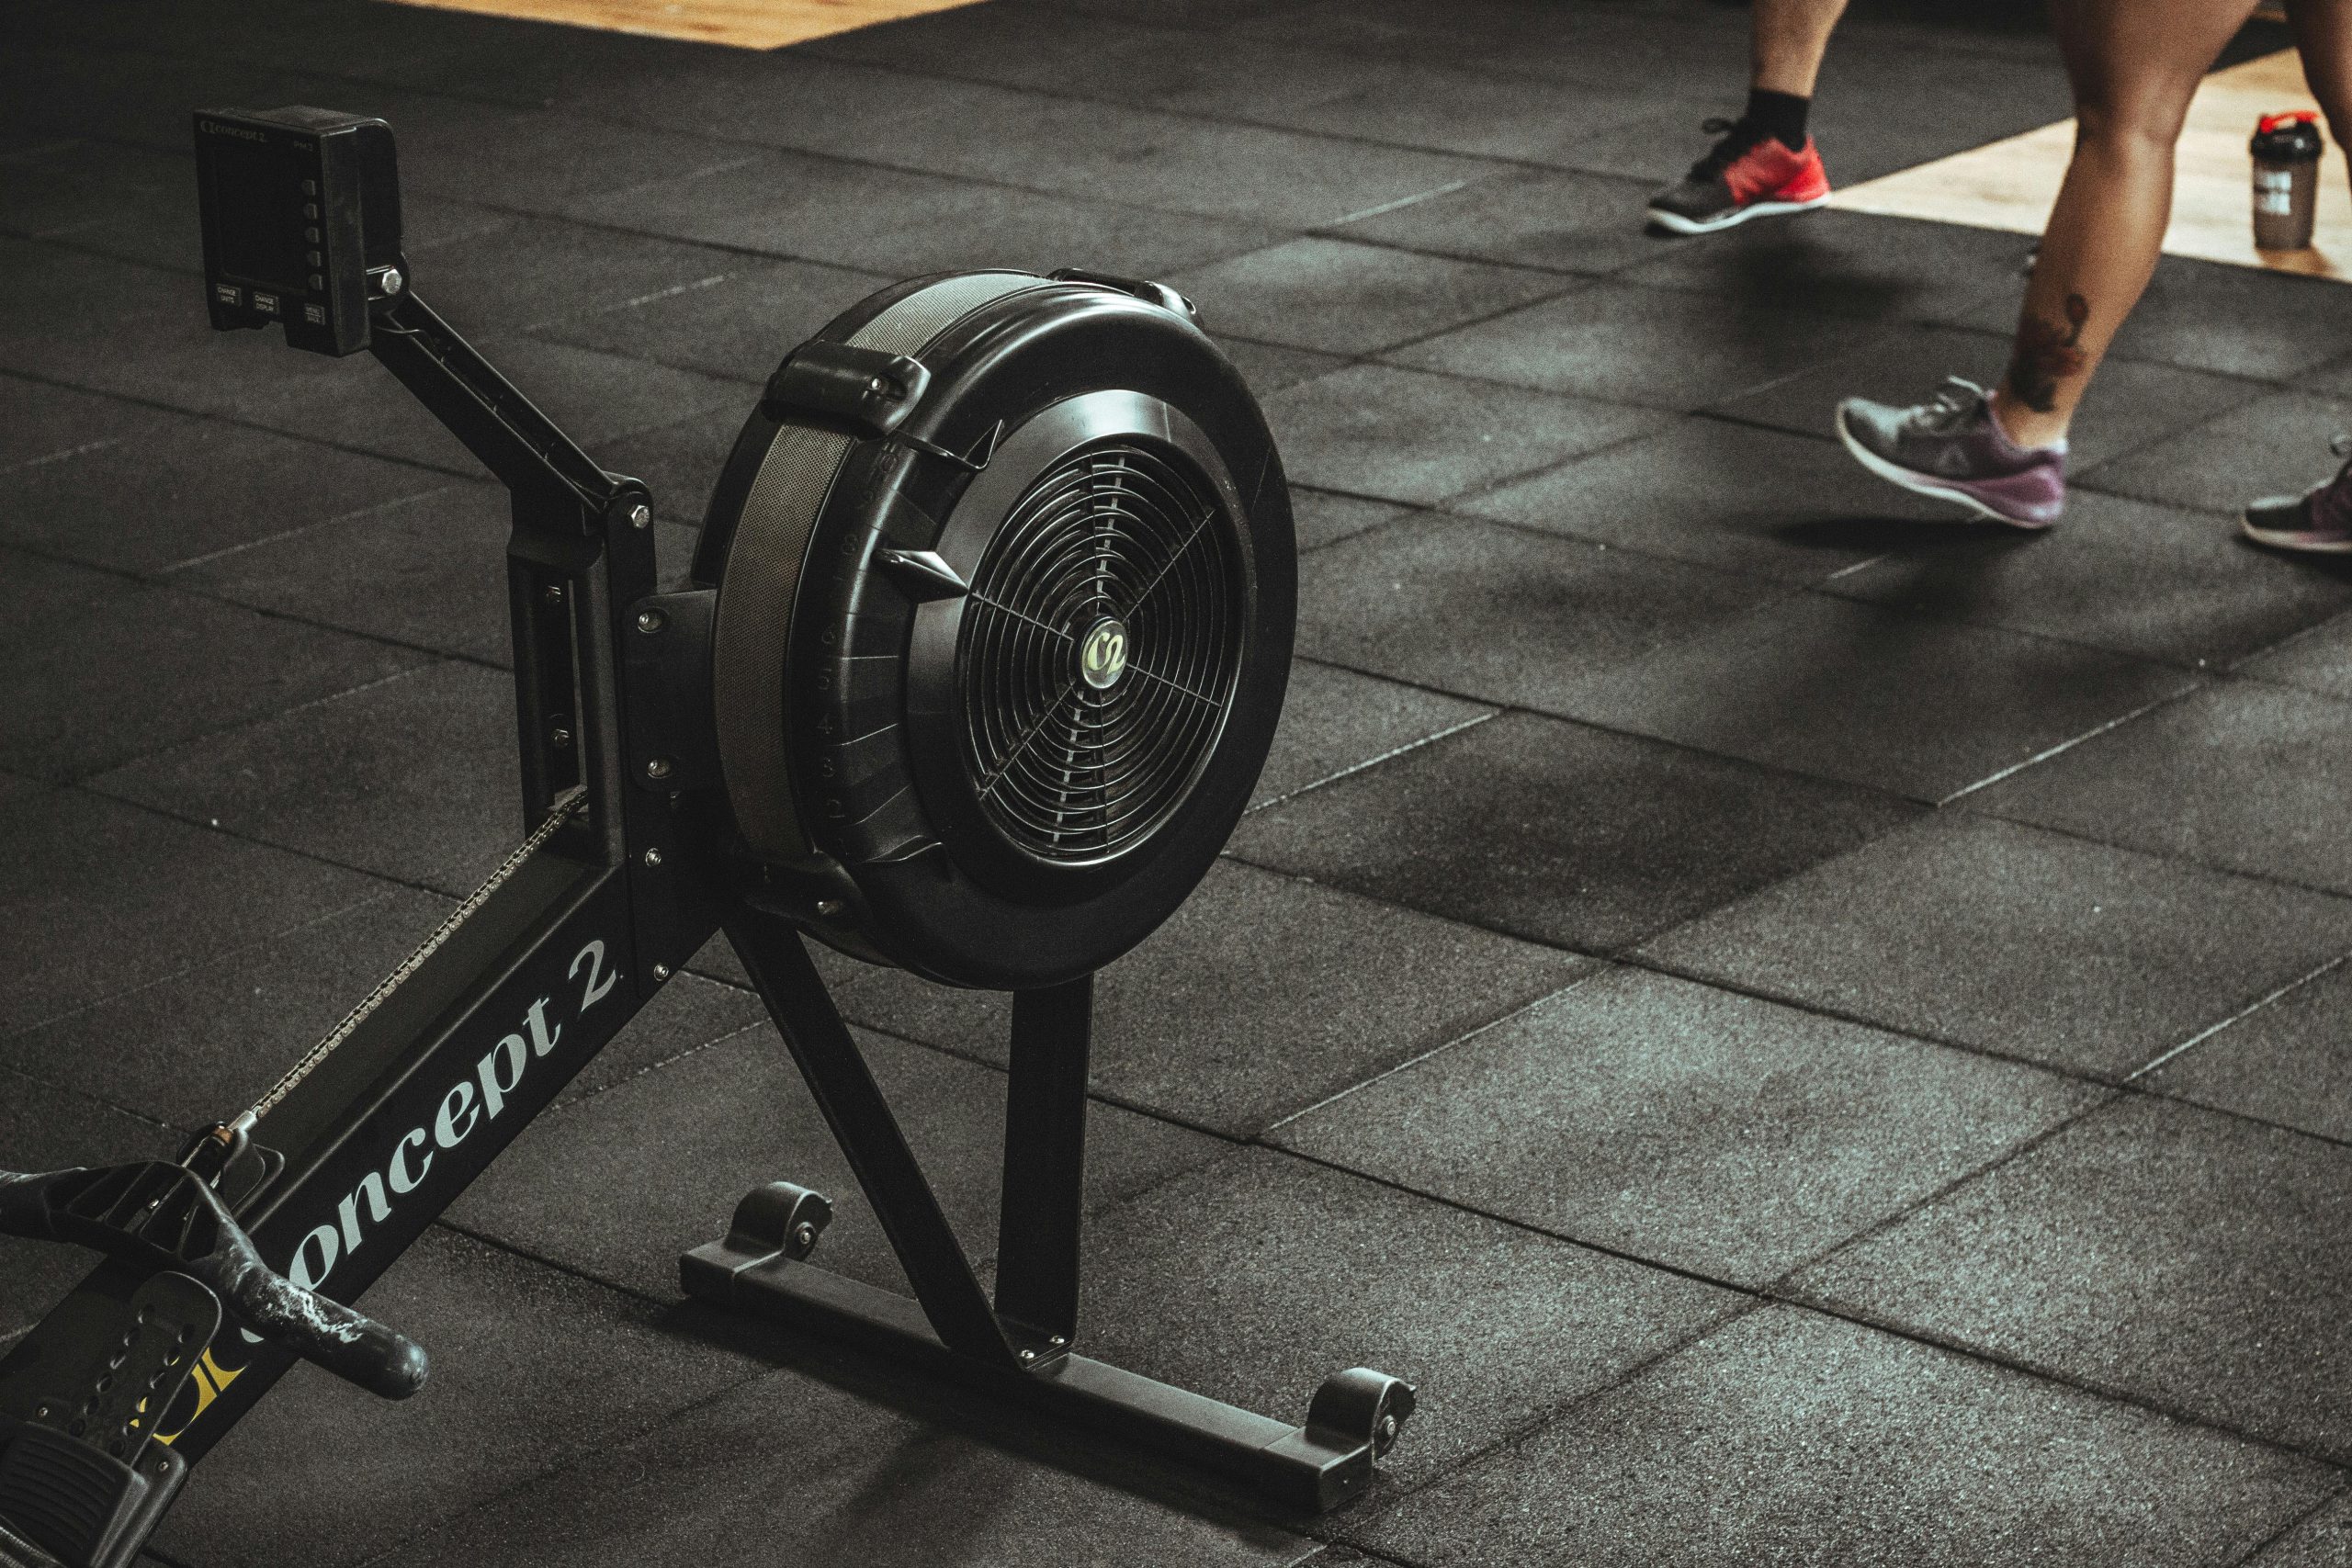
In my last post, I discussed various pieces of equipment, including dumbbells, a squat rack, resistance bands, and cardio machines. However, here’s a key aspect that many newcomers overlook: the floor. Yup, that’s right. What’s under your feet can truly make or break your setup. Whether you’re lifting heavy weights, doing bodyweight workouts, or just hopping on a yoga mat, your flooring matters. It protects your house, your gear, and even your body.
In this post, I’ll break down why home gym flooring is important, the best options (mats, foam tiles, and rubber tiles), and how to choose what’s right for you.
My Recommendations: Before we get into the nitty-gritty, there’s something else I want to mention. Everyone knows about diet and exercise, and in this post, I’ll be discussing how to optimize the workout space you have at home. That’s all fine and dandy, but what happens after your workout? You have appropriate flooring, good equipment, and you push yourself when using it. But we all know what that leads to: soreness.
Soreness tends to kill momentum when you’re getting started in the fitness world. That’s why I recommend the Hyperice Hypervolt 2 to aid in your recovery process. Getting back in action ASAP is important, especially if you’re trying to prepare for an event. That’s why I’d also like to recommend the Hyperice Hypervolt Go 2 because even though it doesn’t have as many interchangeable heads, it’s much more travel-friendly.
Key Takeaways
- Flooring isn’t optional – it’s essential for safety, protection, and performance.
- Mats are budget-friendly, portable, and great for light workouts.
- Foam tiles do what mats do better by offering more coverage.
- Rubber tiles are durable, customizable, and ideal for heavier training.
- Choose based on your workouts, space, and budget.
Why Flooring Is Just as Important as Equipment
Your floor is literally the foundation of your workouts. Without proper flooring, you risk damaging your home and your equipment – or worse, hurting yourself.
- Protects Your Floors – Imagine dropping a dumbbell on hardwood or carpet. Ouch. Even a small weight can crack tile, dent wood, or tear carpet fibers.
- Protects Your Equipment – Weights and machines aren’t exactly cheap. Maybe one or two weight plates, but it racks up if more and more start breaking. If they slam against a hard floor, you’ll be replacing gear way sooner than you’d like.
- Keeps You Safe – Flooring adds grip, shock absorption, and stability. That means fewer slips during cardio, less joint stress during jumping, and better footing for strength training.
- Defines Your Space – Having dedicated flooring makes your home gym feel like a real training area. It separates “workout mode” from “living room mode,” even if you’re only using a corner of a spare room.
Bottom line: skipping flooring is like building a house without a foundation. Sure, you can, but there will be a price to pay later on.
Mats, Foam, and Rubber: What’s the Difference?
When it comes to flooring, three beginner-friendly options stand out: mats, interlocking foam tiles, and interlocking rubber tiles. All three do the job, but each has pros and cons depending on your budget, space, and workouts.
Option 1: Exercise Mats
Mats are the simplest choice. They’re usually one large piece of material (foam, rubber, or PVC) that you roll out when needed.
Pros:
- Affordable – You can find good mats for $30-$100. No need to go crazy on one.
- Portable – Roll it up and stash it under the bed or in the closet.
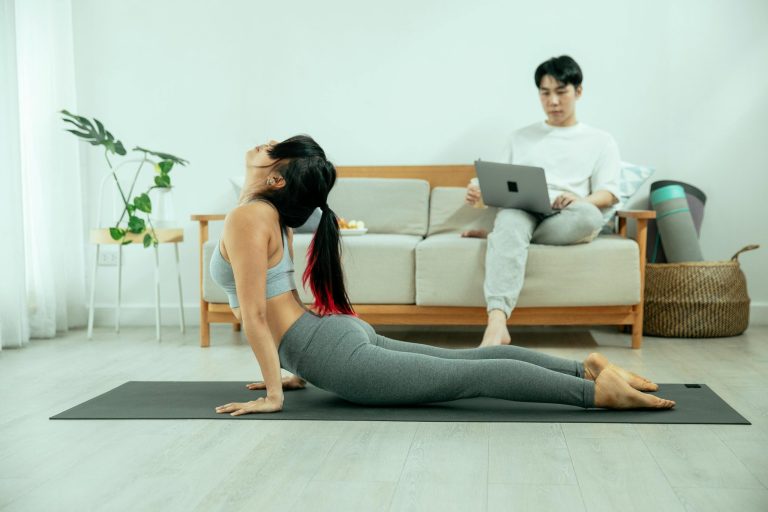
- Great for bodyweight workouts, yoga, stretching, or light equipment.
Cons:
- Limited protection – A thin mat won’t do much if you drop heavy weights.
- Can slide around if not grippy enough.
- Doesn’t cover large areas well.
Best for: Beginners who want something quick and cheap, renters who need something portable, or people focusing on light workouts without heavy lifting.
Option 2: Interlocking Foam Tiles
Think puzzle pieces for your floor. Foam tiles fit together to offer a much wider range of coverage.
Pros:
- Easy to work with – Incredibly flexible and light, so moving and installing them is easy-peasy.
- They’re soft and come in a variety of colors, so you can easily make it yourspace.
- Great insulators – helps to keep warm air in and cold air out. Perfect for the colder, winter months.
Cons:
- Doesn’t hold up well against heavy weights. Indents in the foam are inevitable if you’re going to lift heavy.
- When compared to rubber, foam doesn’t last as long.
- Can be punctured, scratched, or torn, leading to needing replacements.
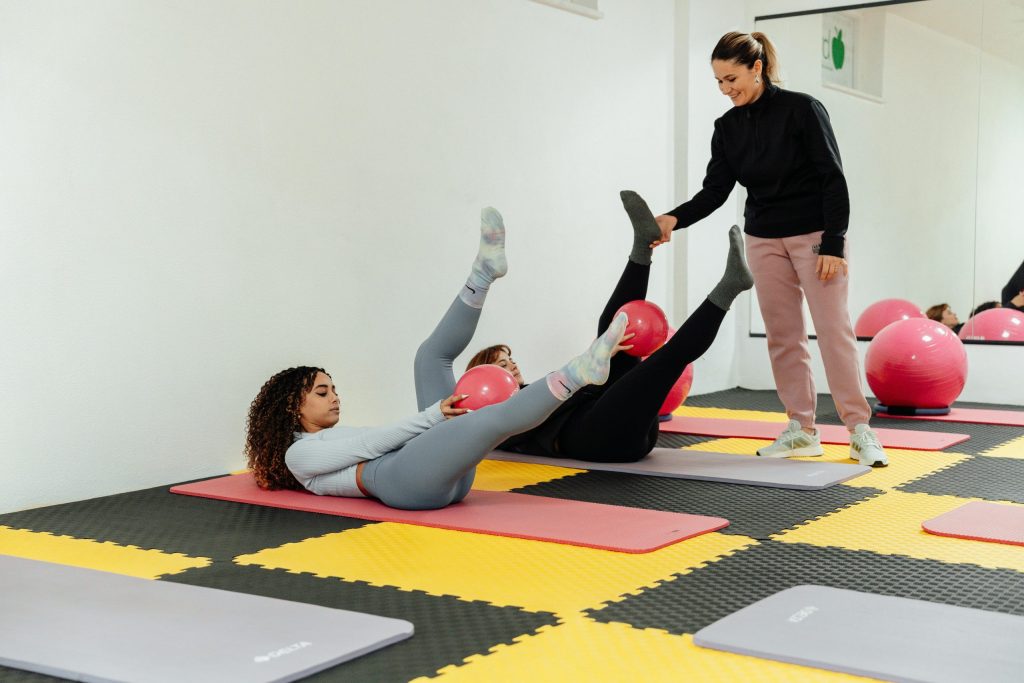
Best for: People who focus on bodyweight and lightweight workouts, stretching and yoga sessions, and even kids’ playrooms.
Option 3: Interlocking Rubber Tiles
Again, puzzle pieces. When rubber tiles lock together, they create a solid, durable workout space.
Pros:
- Heavy-duty – Perfect for protecting floors from barbells, dumbbells, and machines.
- Customizable – Cover a small corner or an entire garage.
- Shock-absorbing – Great for reducing noise and joint impact.
- Long-lasting – Quality rubber tiles can last years.
Cons:
- More expensive – Expect to pay $100-$300+ depending on coverage.
- Semi-permanent – Not as easy to move around as a mat.
- Not-so-great insulation – Rubber tiles will still feel at least cool to the touch if the floor underneath tends to be cold (ex: basement or garage concrete)
Best for: People lifting heavier weights, setting up in a garage or basement, or wanting a professional-looking space.
Tips for Choosing the Right Flooring
Here’s how to decide which option makes sense for your home gym:
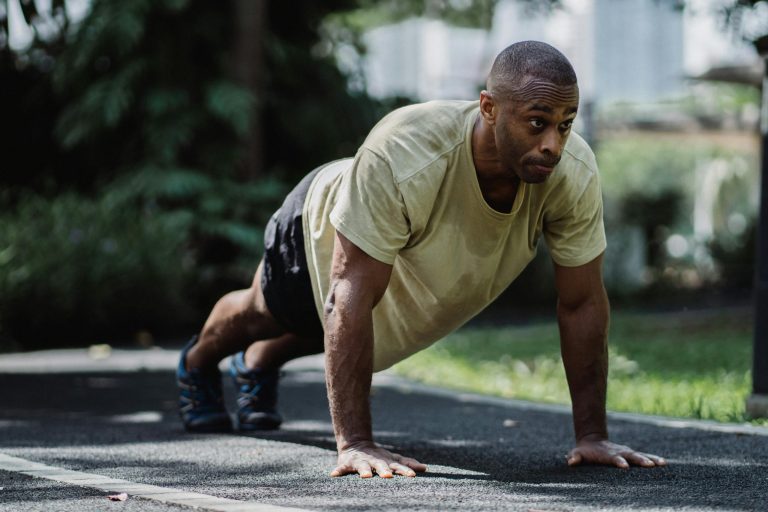
- Check Your Workout Style – If you’re mainly doing bodyweight workouts, yoga, or resistance bands, a good-quality mat or a pack of foam tiles is enough. But if you’re lifting heavy, go for rubber tiles.
- Think About Your Space – For small areas (like a bedroom corner), a single mat works fine. For a garage or basement gym, tiles give you flexibility and coverage.
- Set Your Budget – Mats are the budget option, tiles are the final upgrade, and foam is the middle ground. If possible, invest in flooring early – it’ll save you money in repairs or replacements later.
- Look for Grip and Thickness – A good thickness is around 3/8”-3/4” for rubber tiles. For mats, go for at least 6mm for yoga/stretching and thicker if you’ll use weights.
- Noise Control – If you live in an apartment or share walls, thicker rubber flooring will help keep your workouts quieter.
Pro tip: If money is tight, you can start with one or two heavy-duty mats under your main lifting area, then expand later with tiles as your gym grows.
My Recommendations: There are a lot of different options out there, so if you want to save some time, here are some options that I recommend:
Mats: Amazon Basics Exercise Mat (1/2″ thick), CAP Barbell Anti-Tear Exercise Mat (2″ thick), Retrospec Solana Yoga Mat (1″ thick)
Foam Tiles: BeMaxx Gym Mats Set (0.4″ thick), ProsourceFit Interlocking Foam Exercise Mats (1/2″ thick), HealSmart Extra Thick Interlocking Foam Exercise Tiles (1″ thick)
Rubber Tiles: Rage Fitness Interlocking Rubber Gym Flooring (0.25″ thick), SUPERJARE High Density Foam Mats w/ Rubber Top (0.79″ thick), MYOYAY Heavy Duty Rubber Flooring Mat (1″ thick)
Conclusion: Don’t Skip the Floor
Your home gym flooring might not feel as exciting as buying dumbbells or a shiny new bench, but it’s just as important. It’s the thing that protects your house, your gear, and your body every single time you work out. Whether you start simple with a mat or go all-in with interlocking rubber tiles, you’ll thank yourself later for making the investment.
And remember: your floor is the foundation of your fitness journey. Build it right, and your home gym will feel solid, safe, and ready to help you crush your goals.